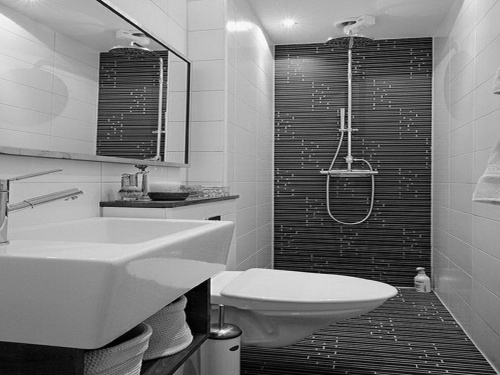
One of the final steps in completing a custom shower project is selecting and installing the shower fixtures. While the task of selecting a shower fixture from a wide variety of styles can be challenging, installing the fixture is a simple job. With basic plumbing tools and skills, any do-it-yourselfer can install a shower fixture. Read on, and become a showerhead installer yourself!
Things You’ll Need
- Adjustable wrench
- Thread tape
- Drill
- Drill bit
- Screwdriver
Remove the old showerhead. Most showerheads screw onto a pipe that sticks out of the well. Grab this pipe with one hand, if applicable. Loosen and remove the showerhead with an adjustable wrench by rotating counter-clockwise.
Clean the threads of any water deposits and old tape. Use vinegar, or a cleaner of your choice, and scrub until clean. Dry with a paper towel.
Wrap the threads clockwise with threading tape about three times. Press the tape into the threads by grabbing hold of the threads and rotating clockwise, as if screwing on a new showerhead.
Hold the wall mount to the wall at the appropriate height. Drill through the screw holes. Screw the wall mount into place with the screws that came with the showerhead. Use a manual screwdriver to ensure you don’t tighten the screws too much.
Screw the shower hose onto the threads you covered with threading tape. Hand tightens until you can’t tighten any further. Do not use a wrench.
Run the water for at least two minutes. Look for any leaks and tighten as necessary. Keep an eye on the showerhead and mount for a week for any leaks or loose screws.
If you’re in need of a new showerhead, please, do not hesitate to contact us today and we can help you pick the shower head that fits your and your family’s needs!
